This week I had intended for us to do lots of dinosaur activities, to link in with Dino week on CBeebies. It didn’t quite go to plan. We’ve had a really busy and fun week going out and about so never got round to doing some of the activities I had planned. We read lots of dinosaur books though and watched a great programme on Netflix called ‘Walking with Dinosaurs’ which Harrison loved!
We have done a few bits though, so I’ve put them all together to snow you!
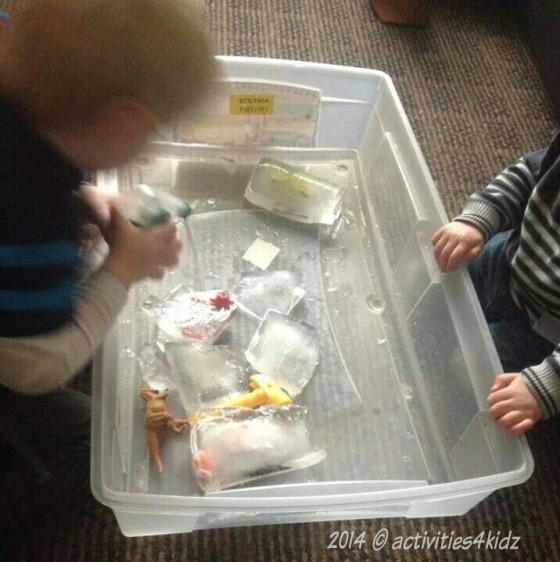
Our first dinosaur activity started off on Sunday night where I found myself putting dinosaurs in my freezer! I found a few different shaped containers, half filled them with water and popped in a toy dinosaur, and managed to squeeze them in the freezer.
Obviously, when we took them out on Monday afternoon, the dinosaurs had frozen into the water.
I then popped them into our big plastic tray that we use for messy/water play, and gave the kids a few tools – plastic knives, toy hammers and screwdrivers and sticks. Immediately Harrison told me that the dinosaurs were ‘stuck’ and started using the hammer to try and get it out. It was lovely watching them trying to get the dinosaurs out using the tools.
However, it was a LOT harder than I had anticipated. The ice started melting and we talked about it melting (Harrison immediately compared it to ice cream!) and becoming water, which they thought was magical. Harrison realised by dropping the ice from a height he could break some of the ice but I had to discourage this as shards of ice started flying everywhere – unless we were all wearing goggles (which they probably would have loved and it would have added an extra role play element to the activity!) It wasn’t very safe. It was a good discussion point as we talked about being sharp and Harrison straight away recalled an incident before Christmas where he saw me cut my finger with scissors. I was starting to think we would never get the dinosaurs out without leaving them to melt, when I thought about how we try to melt ice….I filled up a spray bottle with warm salt water. The kids loved squirting the ice with the water and watching it melt really quickly. This was also great for fine motor control as they had to squeeze the trigger on the bottle. This was a brilliant activity for introducing some scientific concepts.
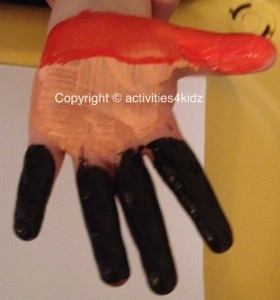
Then we did my favourite…handprints!! I’d found a lovely little dinosaur poem on Pinterest (there was no link so can’t credit it) which I thought would look really nice with the kids handprints.
On the corner of a4 sheets of paper (the kids chose their colours) we did a handprint, which I then added a head to the thumb bit and a tail to the other side, and popped on legs using felt tips. I then copied out the poem.
We’ve used the poem a couple of times this week to get them moving about when we haven’t been able to get outside.
Our last activity was by far the messiest and ended up with the kids in the bath. Graham drew some dinosaurs on coloured paper (he’s much better at drawing than me!) and I let them loose with a tray of yellow, brown and green paint. They enjoyed mixing the colours up to make ‘mud’, and then using their fingers and paint dabbers to blob paint onto the dinosaurs.
Once they had dried, we stuck them onto paper, and I used their dinosaur names and characteristics from their dino money jars.
Obviously if you are more creative with words than I am you could write your own dinosaur characteristics!
**the winner of the ‘Let’s Potty’ competition was Kim Campbell**


