8

Pirate handprints and paper plates

We managed to get outside and play today as no rain and hurricane force gales – yay!!!!

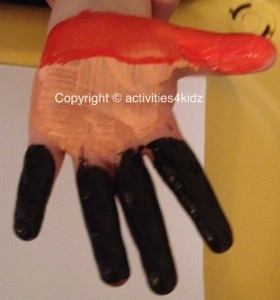
This afternoon after a good run round in the garden we made pirate handprints. If you read my blog regularly you will know I love handprints – anything can be made out of handprint with a bit of imagination and they are fantastic to keep and look back on.

This was a slightly trickier one as it involved painting the kids hands three different colours – if you have ever painted your hand you will know that it really tickles and you automatically want to close your hand, so this took the two of us, one holding kids hands and the other doing the painting!

We painted 3/4 of the palms a peachy skin colour (orange mixed with lots of white paint!), the 1/4 of the palm by the wrist red and the thumb red, and the rest of the fingers black.

20140207-205102.jpg

Once the handprints had dried, I added black stripes to the red bit to make a pirate bandanna, and an eye patch, eye and mouth.

20140207-205238.jpg

We used the left over peachy coloured paint to paint a paper plate. Again the top part was painted red and black as a bandana, and red and mouth added afterwards.

20140207-205417.jpg

What do you think mi hearties?

0

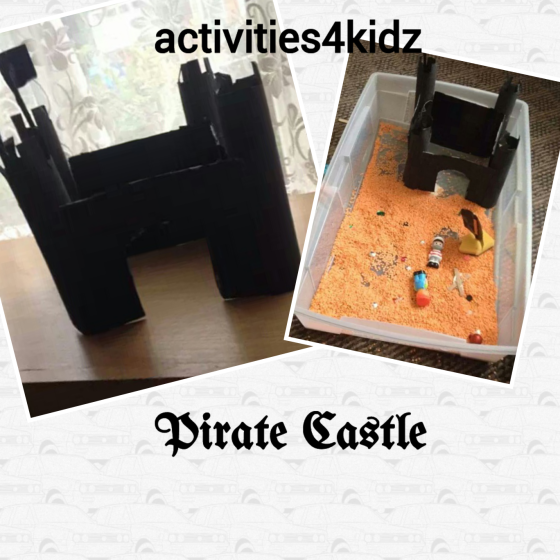
Pirate Castle

image

This was definitely more of a mummy and daddy made activity activity as although easy to make is a bit fiddly. Older kids would enjoy painting and decorating it though.

You will need:

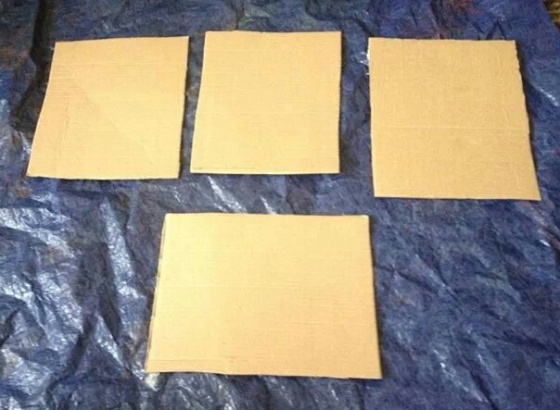
4 equal sized rectangles of cardboard (mine were about 5 x 7 inches)
4 cardboard tubes
Black paint
Tape (I used black duct tape)
Scissors
Straws

image

First of all take one of the rectangles of cardboard and place one cardboard tube to the side of it.

Cut a slit roughly half way up the tube

image

Cut a slit halfway down the rectangle

image

They should slot together. Repeat this for each ‘wall’ of the castle – so each tube and each rectangle will have two slits in, so they all fit together. Don’t forget to cut out an archway in one of the pieces as a doorway.

image

Cut little squares out of the top of the cardboard tubes to create turrets.

image

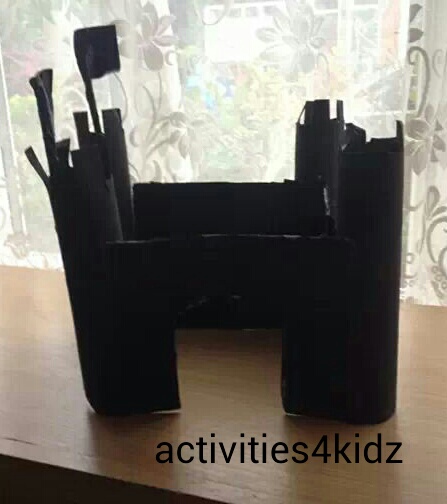
Paint it all black (might be easier to take it all apart to do this). I used for the inside of the castle. I did this because I had used toy packaging for the cardboard and the one side was shiny and printed on, which is a nightmare to paint! It also gave it a little bit more strength.

I then wrapped black duct tape (can you tell I love the stuff?!) around drinking straws, although you could just paint art straws black, and created a flag out of the tape (yes I’m obsessed!!) but black paper would work just as well. I did intend to finish it off by adding some skull and crossbones stickers but, as with a lot of things when two toddlers are about, they disappeared!

image

Harrison immediately wanted to play with it, so in our big play tub I tipped out our tub of lentils, some sparkly gems as treasure, and added in a cardboard ‘x’. Our pirate small world/sensory tub was finished with some Happyland pirates and our sponge sail boats. We dug for treasure by scooping up the lentils with spoons and poured lentils down the turrets of the castle.

image

image

image

Lots of fun!

4

Pirates: sponge sail boats

image

Today we had a go at making some lovely little pirate boats from kitchen sponges. We had great fun and a good way of introducing some science to the kids by talking about floating and sinking and wind!

To make these you will need: scissors, duct tape (we used plain black but you could buy the funky stuff!), kitchen scourer sponges, lollypop sticks.

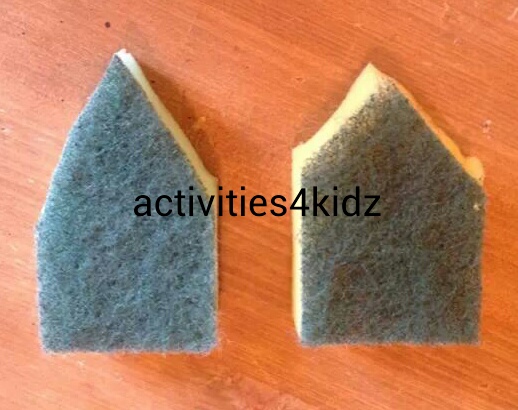
First of all, cut the two corners of the sponge to make a kind of house shape.

image

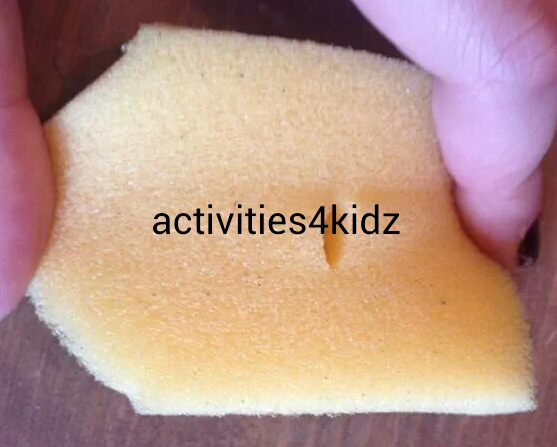
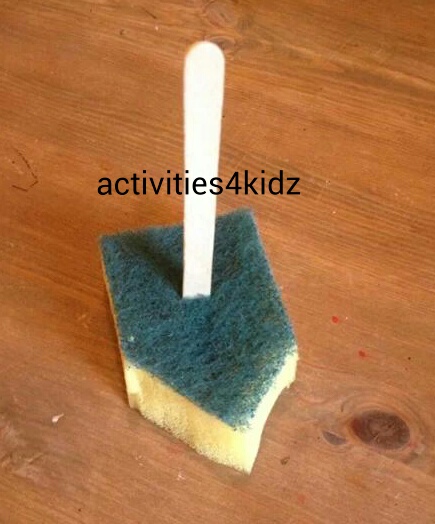
You then need to make a little slit in the middle of the sponge (might be easier with a knife) the same width as the lolly stick. This is where the mast will go.

image

image

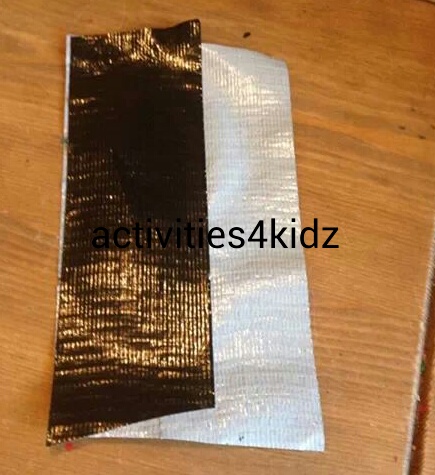
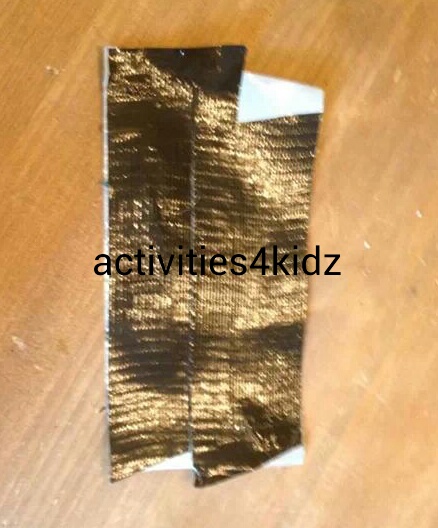
Overlap two pieces of duct tape, and then turn it over and tape two more pieces onto the back, so no sticky bits are showing.

image

image

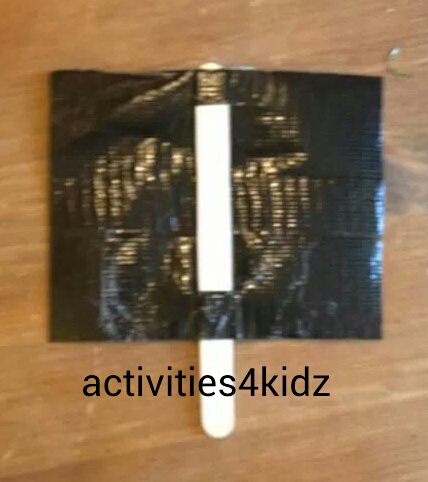
Trim it so it is nice and neat. Cut a small slit at the top and bottom of the sail and thread it onto the lolly stick.

image

Your ship is ready to sail!! We added a skull and crossbone sticker to make it piratey!

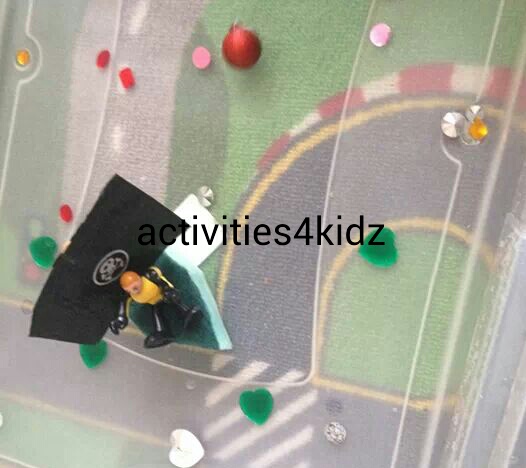
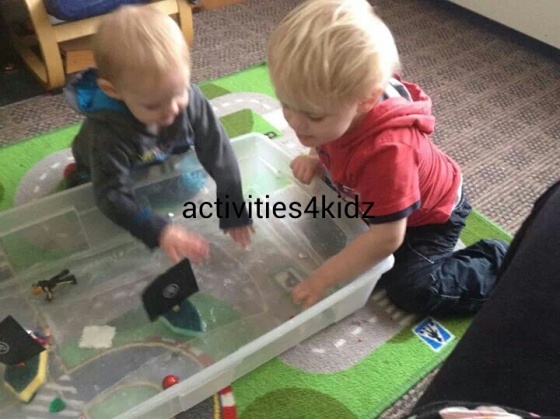
We filled up our big tub with water and added in some ‘treasure’ and sailed our pirate ships (yes, I know there is a car mat underneath, couldn’t find the tarpaulin!). We used a bicycle pump to create ‘wind’ to move them along and blew on them as well. We balanced treasure and the little men from a playset on them, and it held their weight pretty well. Every so often we had to squeeze the water out of the sponge but we had great fun! Of course, it descended into splashing and wave making, and both kids needed a change of clothes afterwards, but that’s what happens with two toddlers and a big tub of water!!

image

image

image

7

Pirate Treasure Map by Toucan Box: a review

image

A couple of weeks ago we reviewed an excellent craft kit from ToucanBox. Today we used the other box that we were sent, and yet again I was very impressed!!

We have started our pirate theme week today but were also visiting my nan. The Toucan Box set was perfect to chuck in my bag to do there , as it is low mess and literally everything we needed was contained in the box!

We were sent a lovely pirate treasure map set. When I say it contained everything, I mean everything – even down to the glue stick, paint brush and teabag to stain the paper!

image

We made a pot of tea using the teabag provided (and had a cuppa with it – bonus!) and left into stew to go nice and dark as the very simple step by step instructions directed. We scrumpled up the paper and then used the paintbrush to ‘paint’ on the tea, and left it to dry. Whilst it was drying we made the parrot puppet- a cardboard cutout which we decorated with the mini felt pens included, and then glued on the feathers, googly eye and jumbo lolly stick. The only thing I would say is the glue stick didn’t hold the lollystick handle or eye on very well – I’ve used my glue gun to make it more secure. Perhaps some sort of sticky back or sticky pad would hold it better? Minor details though!

Once the paper had dried we decorated it with the pirate stickers and felt tip pens. What do you think?
image

The prices for Toucan Boxes vary depending on what level of subscription you go for, but single packs are available which give a months worth of craft ideas for just under £20, which would make a lovely gift idea.
The lovely people at Toucan have given me a code to share with you to claim a free taster box! Just visit their website <a href="http://www.toucanbox.com
“>here  and enter the code TOUCAN.
Enjoy!

image

* I was sent this and another Toucan Box for the purpose of this review. All thoughts and opinions expressed are my own.

an adventure”>We're going on an adventure