2

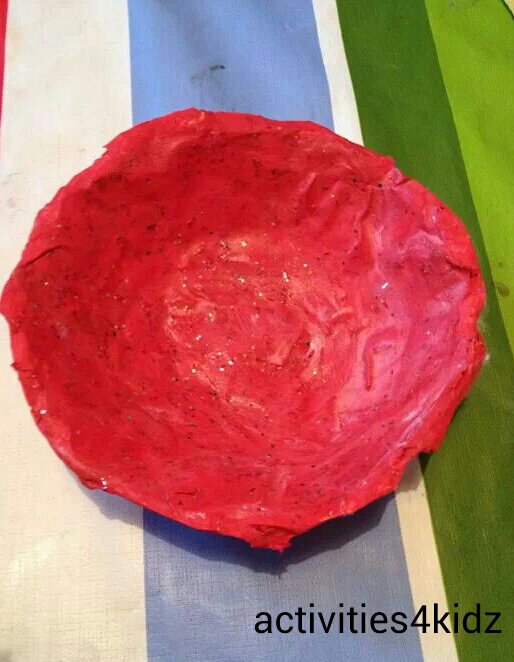
Paper mache bowl

I used to love doing paper mache when I was little, especially at school when you cover a balloon and then pop it!
I originally intended for the kids to make a few of these for Christmas presents but they do take quite a while and we just didn’t get chance to do any more, and I have kept this one on my dresser to hold odd coins and bits.

We put a layer of cling film inside a small plastic bowl. This helps it to separate easier when you’ve finished. We then made up a mixture of PVA glue and water (probably 2/3 glue, 1/3 water) and ripped up paper into small pieces. We just used scrap paper that we had because newspaper can be a pain to paint over because the print shows through. I have also seen it made with shredded paper from a shredder, which looked good but I’m sure would be quite fiddly for toddler fingers!

We dipped each piece of paper into the glue mixture and then placed it on the cling filmed bowl, eventually covering it all. We did a couple of layers and then left it to dry which took about 24 hours,then repeated. I think we did about seven or eight layers as we wanted it to be quite strong, so took over a week!

Once we had finished, we painted it. We chose a nice bright red colour and gave it a couple of coats, leaving it to dry in between. When the paint had dried we trimmed the edge of the bowl and then covered it in one more layer of PVA glue and water. This helped to seal the paint,give it a little more strength and a glossy finish. We added some glitter to the glue as well to give it a subtle sparkle!

What do you think?

image

image

#AllAboutYou Link & Pin Party Mama and More
8

Paper mache pizza

Harrison loves playing with his Melissa and Doug Pizza Party set but because it comes apartĀ he couldn’t use it properly with his market stall. A mooch in the craft cupboard provided me with two cardboard circles, no doubt from all the packaging in Christmas presents, and it was perfect for a pizza!
We used the smaller one as a trial, and I think we’re going to use the other one with felt toppings for a busy bag.

To begin with, Harrison helped me roll up some paper into a sort of long thing sausage shape. We used just sheets of a4 paper but newspaper would better(I really need to keep newspapers for this sort of thing!). We then curved it round the edge of the circle to make the pizza crust and taped it down with lots of masking tape. We didn’t stick to the base, although you could, we just laid it on the top.

image

Then we got some kitchen roll and ripped into bits, andĀ pasted it on with a mixture of PVA glue and water. We covered the entire pizza, making sure none of the masking tape was showing as it’s really difficult to paint over, and then left it to dry and go hard overnight.

image

This morning, we chose our paint colours – brown for pepperoni, light brown for the pizza crust and dabbed on red and yellow for cheese and tomato, and blobs of green as peppers. Harrison did the red and yellow dabs and I did the rest as he is still at the age of splodging paint anywhere.! We left it to dry and then I gave it a final coat of PVA/water mix to seal it and harden it. It looks great and is perfect for the market stall. We’re also waiting for a paper mache ice lolly and cake to dry so watch here to see how they turn out!

image

Feel free to share your ideas for making play food!

The Fairy and The Frog